

How To Replace Worn Out and Rotted Pioneer Turntable Feet
Here's a description of what is happening in the video how to guide.
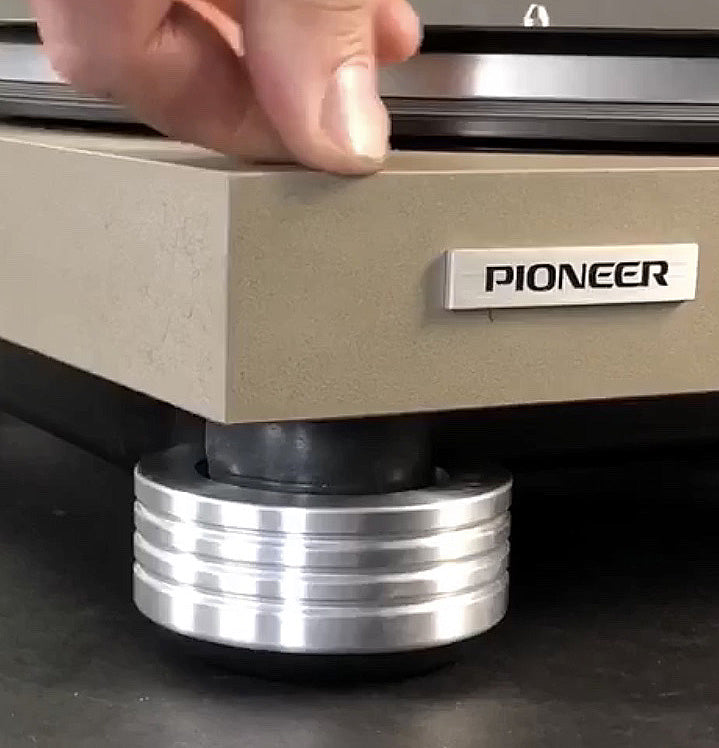
Our good friend, Derek from PC Doodle in South Minneapolis brought us his vintage Pioneer Turntable PL-518 for new Isolation feet. Overall, his PL-518 is in great original condition, but in desperate need of new feet. Aged and Rotted factory feet is a very common issue on these classic pioneer turntables. The molded rubber used 40 years ago will deteriorate and cancels out any anti-vibration and isolation properties.
In the video guide above, we upgrade Derek’s Panasoni PL-518 to Mnpctech Sorbothane Turntable isolation feet. These custom made Anti-Vibration feet measure 2.75” x 1.5” tall. Sorbothane is an excellent vibration isolating material with a very high dampening coefficient. It’s very popular solution for isolating acoustic vibrations in analog audio components and vinyl turntables. We often here from people who are seeking solutions to isolation their vinyl turntable / phonograph from external vibrations and prevent needle skipping or possibly eliminate turntable hum. Mnpctech combines the Sorbothane with CNC machined aluminum shells. This combination is one of most popular vinyl turntable isolation products.
Just like the video outlines, let’s grab a Philips screw driver, so we can remove the retired and rotton factory rubber feet from Derek’s Pioneer PL-518 turntable. The base or Plinth of the pioneer PL-518 is made from MDF, so Pioneer used tapered thread forming screws to attach the old factory feet. The Mnpctech Turntable Isolation feet have embedded M6 machine thread screws, so I’ll need to install the Brass Tapping Inserts illustrated in the video guide into the Pioneer PL-series turntable base, which will allow the Turntable feet to screwed onto the bottom.
In order to install these brass threaded M6 inserts, you'll need a power drill along with a 3/8" drill bit (general purpose spiral flute bit) Our drilled holes need to be 5/8” deep, so I’ll wrap a piece of masking tape around the drill bit as our depth indicator. To insert the Brass Tapping Inserts into the turntable plinth / base, I’m using an E-Z Lok Installation Bit.
You’ll want to grab a Shop Vac / Vacuum cleaner to remove all of the turntable MDF plinth / base particles, then use the EZ-Lok Installation bit to install the four brass Inserts into the Pioneer Turntable Plinth. Then simply hand twist in the new Sorbothane isolation Turntable feet.
Thanks again to Derek at PC Doodle for allowing me to record this easy DIY installation on his Pioneer PL-518. btw, These are still great turntables that periodically appear on Ebay if youre seeking a good vintage analog vinyl turntable. And Thank you for watching,
Our workshop at Mnpctech makes a variety of custom replacement and upgrade anti-vibration turntable isolation feet for record players and turntables.
ChopperCharles
How about a solution for the Pioneer PL-L1000?
Antonio Green
I need feet for a pioneer pl 630 turntable